Written by Rob Schneider and published on https://hipages.com.au/.
Hiring a professional to trim just one tree can cost $80 to $1,000+, with $250 to $500 being the typical price range for tree trimming. If the trimming is straightforward, you could be quoted $80 for a small tree under 25 feet tall, or $175 for a medium-sized tree 25 to 50 feet, and $300 to $1,000 for a big tree over 50 feet. Keep in mind that those prices cover a one-time service for just one tree. If you’ve got several trees around your house that need trimming, the bill will go up accordingly.
2020 How Much Does an Arborist Cost?
How much does an arborist cost? Arborists have many skills, ranging from tree consulting, tree reports to tree surgery, or removing trees from properties. Here’s what you need to know about what arborists do and how much their services will cost.
What does an arborist do?
Arborists can do almost anything related to trees. Some of the jobs arborists typically do include:
- Tree consulting and tree reports
- Tree removal
- Stump grinding
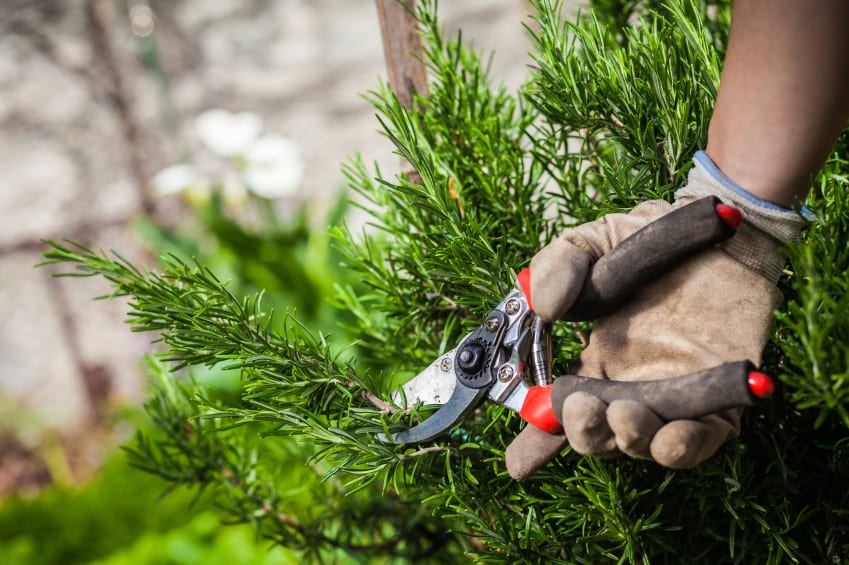
- Tree pruning
- Tree surgery
- Log splitting
- Root management
Each of these jobs is a separate service and will come with a separate cost. For example, if you want to have a tree removed, it probably won’t include stump grinding or stump removal.
Root management includes cutting roots back or creating a barrier so a root cannot impede on a driveway or house slab. Log splitting can be done if you have a wood fireplace and want the timber for burning. Tree pruning and tree surgery are slightly different. Tree pruning can remove limbs that overhang the house or dead limbs, while tree surgery involves removing diseased limbs to keep the tree healthy.
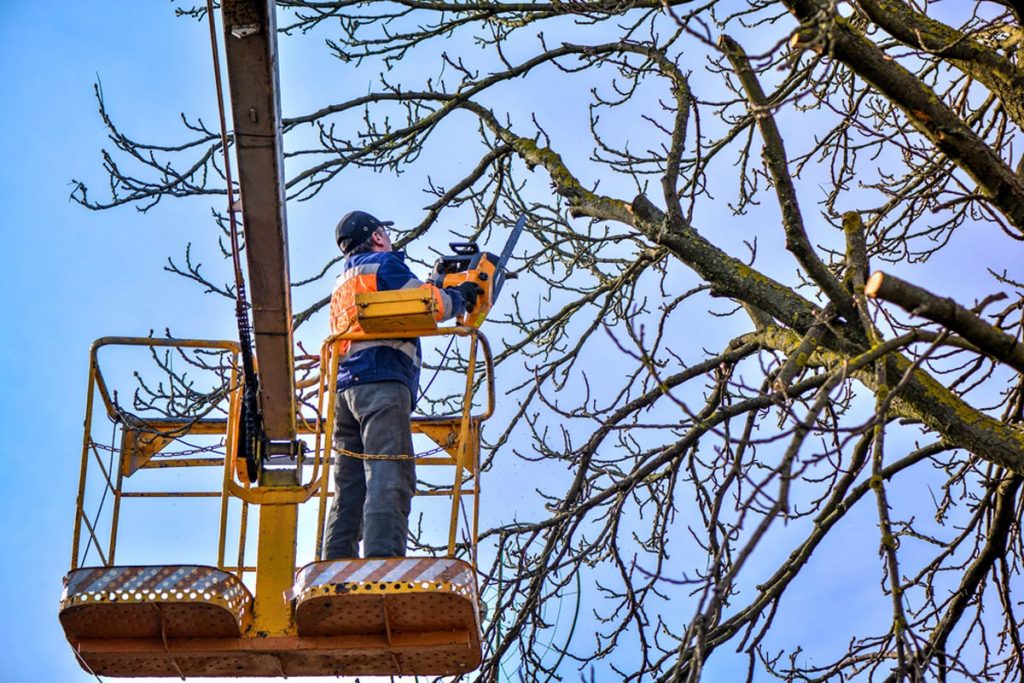
In general, arborists charge around $70 per hour, but their hourly rate may not reflect the cost of the job. The cost will depend on other factors and the number of workers who need to be on the job. If other equipment is needed, such as a truck hoist to reach tree branches, it will cost extra. Truck hoists usually cost around $170 per hour and the hoist may be needed for longer than one hour.
How much does tree consulting and reports cost?
Tree consulting and tree reports are two services an arborist can provide. A tree consultation will give information about a variety of things:
- Is the tree diseased and can the disease be cured?
- Advice on what types of trees to plant.
- Valuation reports tell how much a tree is worth.
- Public liability and public safety reports can tell you if a tree poses a danger to the public or a neighboring property.
- Root mapping can find out if a tree’s roots pose a danger to underground pipes or a home’s foundation
- Tree surveys help identify how to best maintain trees.
Tree reports can be a little different than a tree consultation, though the terms are often used interchangeably. Tree reports may be submitted to the council if you want to remove a tree from your property. Many trees in Australia are protected, but different councils protect different trees. A tree report can identify the tree and submit reasons for its removal to the council.
In general, an arborist consultation or report will cost:
- $75 to $100 for one to five trees
- $25 for each additional tree
- $35 for submission to council fee
The cost may vary depending on circumstances, but these are the basic costs for a consultation or report.
How much does tree removal cost?
Tree removal will depend on a variety of factors:
- The size of the tree
- The condition of the tree
- The location of the tree
- Ease or difficulty of access
- Needed safety precautions
- Transportation and tipping fees
A large tree will cost more because it has to be cut from the top down. If the tree is in poor condition, extra steps will be needed to ensure safety. The location of the tree is an important factor because trees that hang over neighboring properties or over a roof will need to be cut carefully and branches cannot be allowed to fall. If a tree overhangs a roof, for instance, the branches will need to be secured so they don’t fall on the roof. If any safety precautions are needed, they will factor in the cost.
Because of the complexity of tree removal, the cost can be anywhere from $300 for a simple job to $10,000 or even more. An arborist will have to inspect the tree before they can give a quote. While $10,000 can seem excessive, it can be necessary in some cases when a large tree must be removed from the top down and branches cannot fall to the ground.
How much does stump removal cost?
Like tree removal, stump removal will depend on the size of the job, access problems, and other factors. Special stump grinding equipment is used, but an extensive root system may also require some digging. Stump removal can cost up to $800 or more depending on the project. On average, stump removalists charge around $35 per hour. A small job may only take two or three hours to complete. A larger job can take much longer and if more than one stump needs to be removed, that will factor into the cost as well. On average, stump removal costs between $350 and $800, but smaller jobs will cost less.
Keep in mind that stump removal is not usually included in the cost of tree removal. If you want both, ask for quotes for both tree removal and stump removal. It can save you money because the arborist will come with equipment for both jobs instead of having to return to do the stump removal.
Also, remember that stump grinding and root removal maybe two different jobs. Stump grinding usually involves getting rid of the exposed stump, while root removal involves taking out the whole root system. Root removal can cost more than stump grinding, but an arborist will have to inspect the tree before they can give a quote.
How much do tree pruning and tree surgery cost?
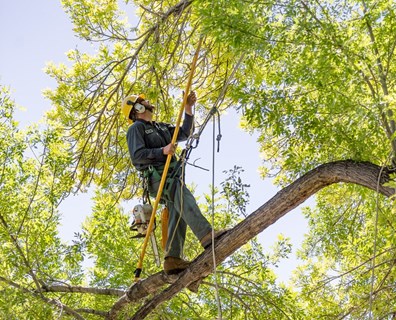
As with everything an arborist does, tree pruning and tree surgery will depend on the size of the tree. For smaller trees, they may charge an hourly rate of $35, but you will also need to pay for travel and setup time. For larger trees, the cost can be much higher, with costs between $500 and $2000. The reason for the high costs can be because the arborist will have to:
- Climb the tree to remove branches
- Take personal safety precautions
- Remove branches without letting them drop to the ground
There may also be accessibility problems and other factors that affect the cost. If tree surgery is needed, you may also have to pay for an initial consultation.
Choosing an Arborist
Arborists do not require licensing, so you should be careful when choosing an arborist. Their job can be dangerous to the public and the arborist, so should carry public liability insurance and personal insurance. They should also hold a Certificate II or III in Horticulture (Arboriculture) and be a member of a recognized organization such as Arboriculture Australia.
The arborist should be well established in the area and have a good safety record. They may be able to supply you with references. Check their references and find out if the arborist knows what they’re doing and has a good safety record. Choose the best arborist you can find, especially if you have large trees that need pruning or removing. An expert will be able to do the job safely and efficiently. Don’t trust any job to an amateur.
*Costs and prices in this article are indicative and should only be used as a guide. They also vary locally and are subject to market forces.
Original post here https://ift.tt/2SUbh7o.
from AAA Tree Lopping Ipswich https://ift.tt/2SU4n1N
via IFTTT